What Is Immediate Implant Placement?
Immediate implant placement is a procedure where a dental implant is placed into the jawbone socket immediately after a tooth is extracted. Instead of waiting months for the socket to heal before placing an implant, the oral surgeon or prosthodontist combines both steps into one visit.
In a conventional (delayed) approach, you would have the tooth removed first. You would then wait three to six months for the bone to fill in and heal. Only after that healing period would you return for a second surgery to place the implant. Immediate placement removes that waiting period between extraction and implant surgery.
The concept is not new. Clinicians have placed implants into fresh extraction sockets for decades. Over time, research and improved implant surface technology have made the procedure more predictable. According to the American College of Prosthodontists, dental implants remain a well-established option for replacing missing teeth. [1]
There are a few related terms worth knowing. Immediate placement refers to the implant being placed the same day as extraction. Immediate provisionalization (also called immediate loading) means a temporary tooth is also attached to that implant on the same day. These are two separate decisions your specialist will make based on your specific case.
When Is Immediate Implant Placement Recommended?
Immediate placement is recommended when a tooth needs to come out and conditions at the extraction site favor placing an implant right away. Several clinical factors determine whether this approach is appropriate for a given patient.
Common Indications
The most common reasons a tooth might need extraction followed by immediate implant placement include a cracked or fractured tooth that cannot be repaired, a tooth with a failed root canal, or severe decay that has destroyed too much tooth structure. Teeth with external root resorption (where the root slowly dissolves) may also qualify.
Front teeth (incisors and canines) are frequent candidates. In this area, preserving the natural gum line and bone contour matters greatly for appearance. Placing the implant immediately can help maintain these tissues during healing. [1]
- Fractured or cracked teeth below the gum line
- Failed root canal with no retreatment option
- Severe decay making the tooth non-restorable
- External root resorption
- Teeth in the front (esthetic zone) where tissue preservation is a priority
Who Qualifies as a Good Candidate?
Not every patient who needs an extraction is a candidate for immediate placement. Your specialist will evaluate several factors before deciding. The most important factor is the bone surrounding the extraction site. There must be enough bone on all sides of the socket, especially the outer (buccal) wall, to stabilize the implant.
Active infection at the tip of the root (a periapical abscess) can reduce predictability. In some mild cases, the area can be thoroughly cleaned and the implant still placed. In more severe infections, your specialist may recommend removing the tooth, treating the infection, and waiting for healing before placing the implant.
Other considerations include your overall health, smoking status, and whether you clench or grind your teeth (bruxism). Uncontrolled diabetes, certain medications that affect bone metabolism, and heavy smoking can all reduce the odds of successful implant integration. Your specialist will review your medical history and take a cone beam CT scan (a 3D X-ray) to assess bone volume and anatomy before making a recommendation. [2]
When Delayed Placement May Be the Better Choice
Delayed placement is not a lesser option. In many situations, it is the more predictable path. If the outer bone wall is thin or missing, placing an implant immediately may not allow for stable positioning. Severe infection, large bone defects, or complex anatomy may all favor a staged approach.
Your specialist will present both options honestly. The goal is long-term implant survival and a good esthetic result, not speed for its own sake.
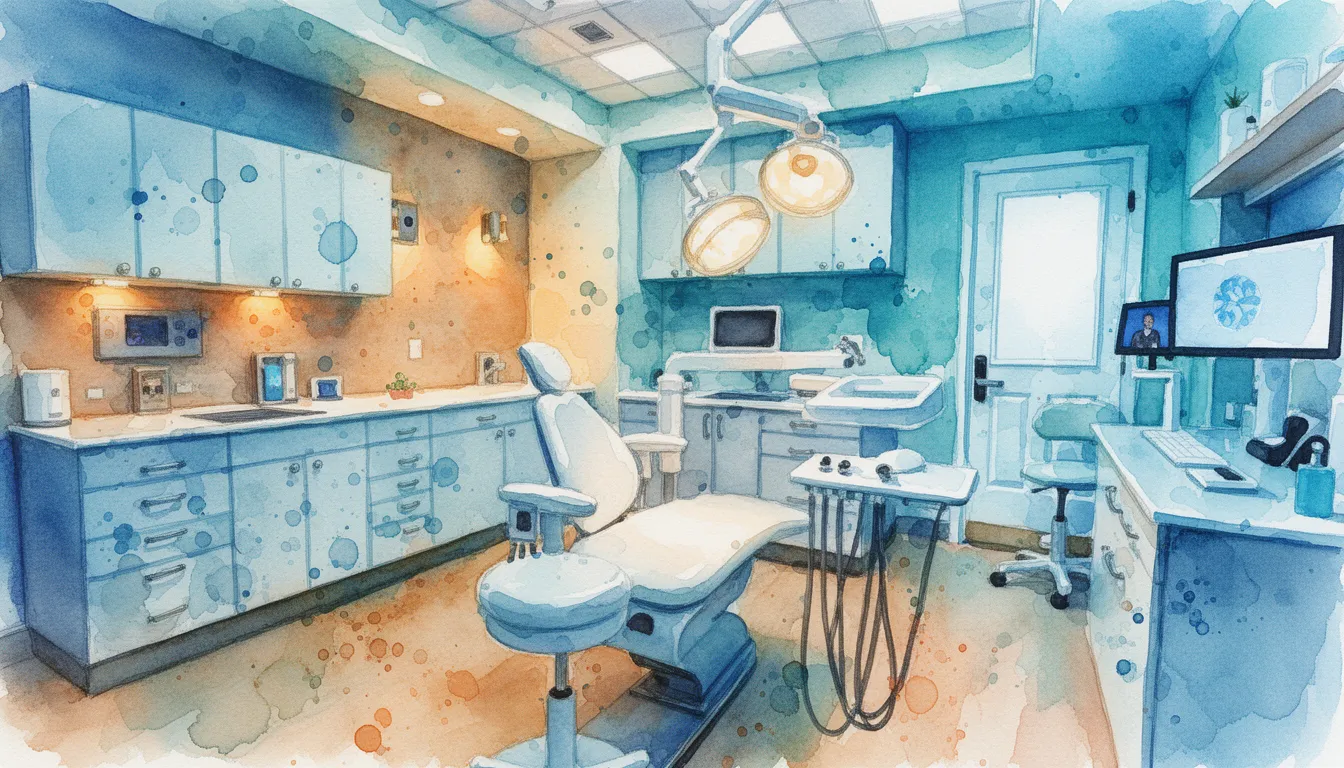
What to Expect: Before, During, and After the Procedure
The procedure involves careful planning, a single surgical visit, and a structured healing period. Here is what each phase typically looks like.
Before the Procedure
Your specialist will start with a thorough examination. This includes standard dental X-rays and, in most cases, a cone beam CT scan. The CT scan creates a three-dimensional image of your jawbone, showing bone thickness, the position of nerves, and the shape of the tooth roots.
Based on this imaging, your specialist will determine whether the extraction socket can support an implant and what size implant to use. In some cases, a surgical guide (a custom-made template) is created using digital planning software. This guide fits over your teeth during surgery and directs the implant into the planned position.
You will receive instructions about eating, medications, and arranging a ride home if sedation is planned. If you take blood thinners or other medications, your specialist will coordinate with your physician about any adjustments.
During the Procedure
The area around the tooth is numbed with local anesthesia. Sedation options such as nitrous oxide (laughing gas) or IV sedation may be available depending on your comfort level and the complexity of the case.
The tooth is removed as gently as possible to preserve the surrounding bone. Your specialist avoids forceful rocking or pulling that could fracture the thin bone walls. Once the tooth is out, the socket is cleaned thoroughly to remove any infected or inflamed tissue.
The implant, a small titanium or zirconia post, is then threaded into the bone at the base and walls of the socket. Because the implant is usually slightly narrower than the original tooth root, there is often a gap between the implant and the inner walls of the socket. Your specialist may fill this gap with bone graft material (small granules of processed bone) to support healing and bone regeneration.
If the implant achieves strong initial stability, measured by how tightly it grips the bone, a temporary crown may be attached on the same day. This is most common for front teeth where appearance matters. For back teeth that bear heavy chewing forces, a healing cap (a small metal cover) is often placed instead, and the implant is left to heal without a temporary tooth on top.
After the Procedure
You will leave the office with gauze over the site and specific aftercare instructions. Some swelling, minor bruising, and discomfort are normal for the first two to three days. Most patients manage pain with over-the-counter medications like ibuprofen or acetaminophen, though a short prescription for stronger pain medication may be provided.
If a temporary crown was placed, it will be shaped so it does not contact the opposing teeth during biting. This protects the implant from excessive force while the bone heals around it. You will be asked to avoid biting directly on the temporary crown for several weeks.
Recovery Timeline and Aftercare
Recovery after immediate implant placement follows a predictable pattern, though individual healing rates vary. The overall timeline from surgery to final crown is typically three to six months.
Day 1 Through Week 1
Swelling usually peaks around day two or three and then gradually decreases. Applying ice packs to the outside of the cheek in 20-minute intervals during the first 24 hours can help limit swelling. Some oozing or light bleeding from the site is normal for the first day.
Eat soft foods for the first week. Yogurt, scrambled eggs, mashed potatoes, smoothies, and soups are good choices. Avoid hot liquids for the first 24 hours. Do not use a straw, as the suction can disturb the blood clot forming in the socket.
Rinse gently with warm salt water starting the day after surgery. Do not brush directly over the surgical site for the first few days. Your specialist may prescribe a chlorhexidine mouth rinse to help keep the area clean.
- Apply ice packs: 20 minutes on, 20 minutes off for the first 24 hours
- Soft foods only for the first 5 to 7 days
- No straws, no spitting, no vigorous rinsing for 48 hours
- Gentle salt water rinses starting on day two
- Take prescribed or over-the-counter pain medication as directed
Week 2 Through Month 1
By the end of the second week, most patients feel largely back to normal. The gum tissue over and around the implant begins to mature. Sutures (stitches), if placed, typically dissolve on their own within two weeks or are removed at a follow-up visit.
You can gradually return to a normal diet, but continue to avoid hard, crunchy, or sticky foods directly over the implant site. If you have a temporary crown, remember it is not designed to handle full chewing forces. Your specialist will schedule a check-up around the two-week mark to confirm healing is on track.
Month 2 Through Month 6: Osseointegration
The critical biological process during this period is osseointegration. This is the process where living bone cells grow directly onto the implant surface, locking it firmly in place. Osseointegration typically takes three to six months, depending on the location of the implant and your individual healing biology. [2]
During this time, you will have periodic check-ups. Your specialist may take X-rays to monitor bone levels around the implant. Once osseointegration is confirmed, impressions or digital scans are taken to fabricate the final crown.
Normal Healing vs. Call the Office
Some discomfort, swelling, and minor bleeding are expected in the first few days. However, certain signs warrant a call to your specialist's office.
- Normal: Mild to moderate pain controlled by medication, swelling peaking on days 2 to 3, slight oozing for 24 hours, minor bruising
- Call the office: Pain that suddenly worsens after initially improving, heavy bleeding that does not stop with pressure after 20 minutes, fever above 101°F (38.3°C), pus or foul taste coming from the surgical site, numbness in the lip or chin that does not resolve after anesthesia should have worn off
Cost of Immediate Implant Placement
The total cost for immediate implant placement in the United States typically ranges from $3,000 to $6,000 per tooth. This range generally includes the extraction, the implant itself, the abutment (the connector piece between the implant and crown), and the final crown. Costs vary by location, provider, and case complexity.
If bone grafting material is needed to fill the gap between the implant and the socket walls, this may add $300 to $800 to the total. A temporary crown placed on the same day may also carry an additional fee. Ask your specialist's office for an itemized treatment estimate before the procedure so there are no surprises.
Dental insurance coverage for implants varies widely. Some plans cover a portion of the implant or the crown but not both. Others classify implants as a non-covered service. Contact your insurance provider directly to understand your specific benefits. Many specialist offices offer payment plans or work with third-party financing companies that allow you to spread the cost over monthly installments. [1]
When comparing the cost of immediate placement to delayed (conventional) placement, the total fees are often similar. Immediate placement may save you one surgical visit, which can reduce the overall cost slightly in some practices. However, if your case requires additional bone grafting or a staged approach due to complications, costs may increase.
Should You See a Specialist for Immediate Implant Placement?
Immediate implant placement benefits from the advanced training that dental specialists receive. A prosthodontist is a dentist who has completed an additional three years of residency training focused on restoring and replacing teeth. Prosthodontists are trained to plan complex implant cases, manage esthetic outcomes (especially for front teeth), and coordinate the surgical and restorative phases of treatment. [1]
Oral surgeons also place immediate implants, particularly in more complex surgical scenarios. In some practices, the oral surgeon handles the extraction and implant placement while the prosthodontist designs and delivers the final crown. This team approach can be especially valuable for cases involving the front teeth, multiple implants, or patients with bone deficiencies.
General dentists can and do place dental implants. However, immediate placement adds complexity compared to placing an implant in fully healed bone. The specialist must assess the extraction socket in real time, decide whether the bone anatomy supports an implant, determine if grafting is needed, and achieve adequate stability, all during a single procedure. Specialists who perform these cases frequently tend to have refined protocols and more experience managing the variables involved.
If your case involves a front tooth, thin or damaged bone, a history of gum disease, or any medical conditions that affect healing, seeking evaluation from a prosthodontist or oral surgeon is a reasonable step.
Find a Prosthodontist Near You
If you are considering immediate implant placement, a prosthodontist can evaluate whether you are a good candidate and walk you through your options. Use the the prosthodontics page on My Specialty Dentist to search for a qualified specialist in your area. You can filter by location and read about each provider's training and focus areas before scheduling a consultation.
Search Prosthodontists in Your Area